What it’s like to have stunning invitation card for your upcoming party? It will not only give a slight boost of confidence, but you will be so proud of it that you can inspire everyone to take more seriously when hosting their own party. So, what’s in today’s article? Hmm. I bet you will be amazed by how it looks, here they are,
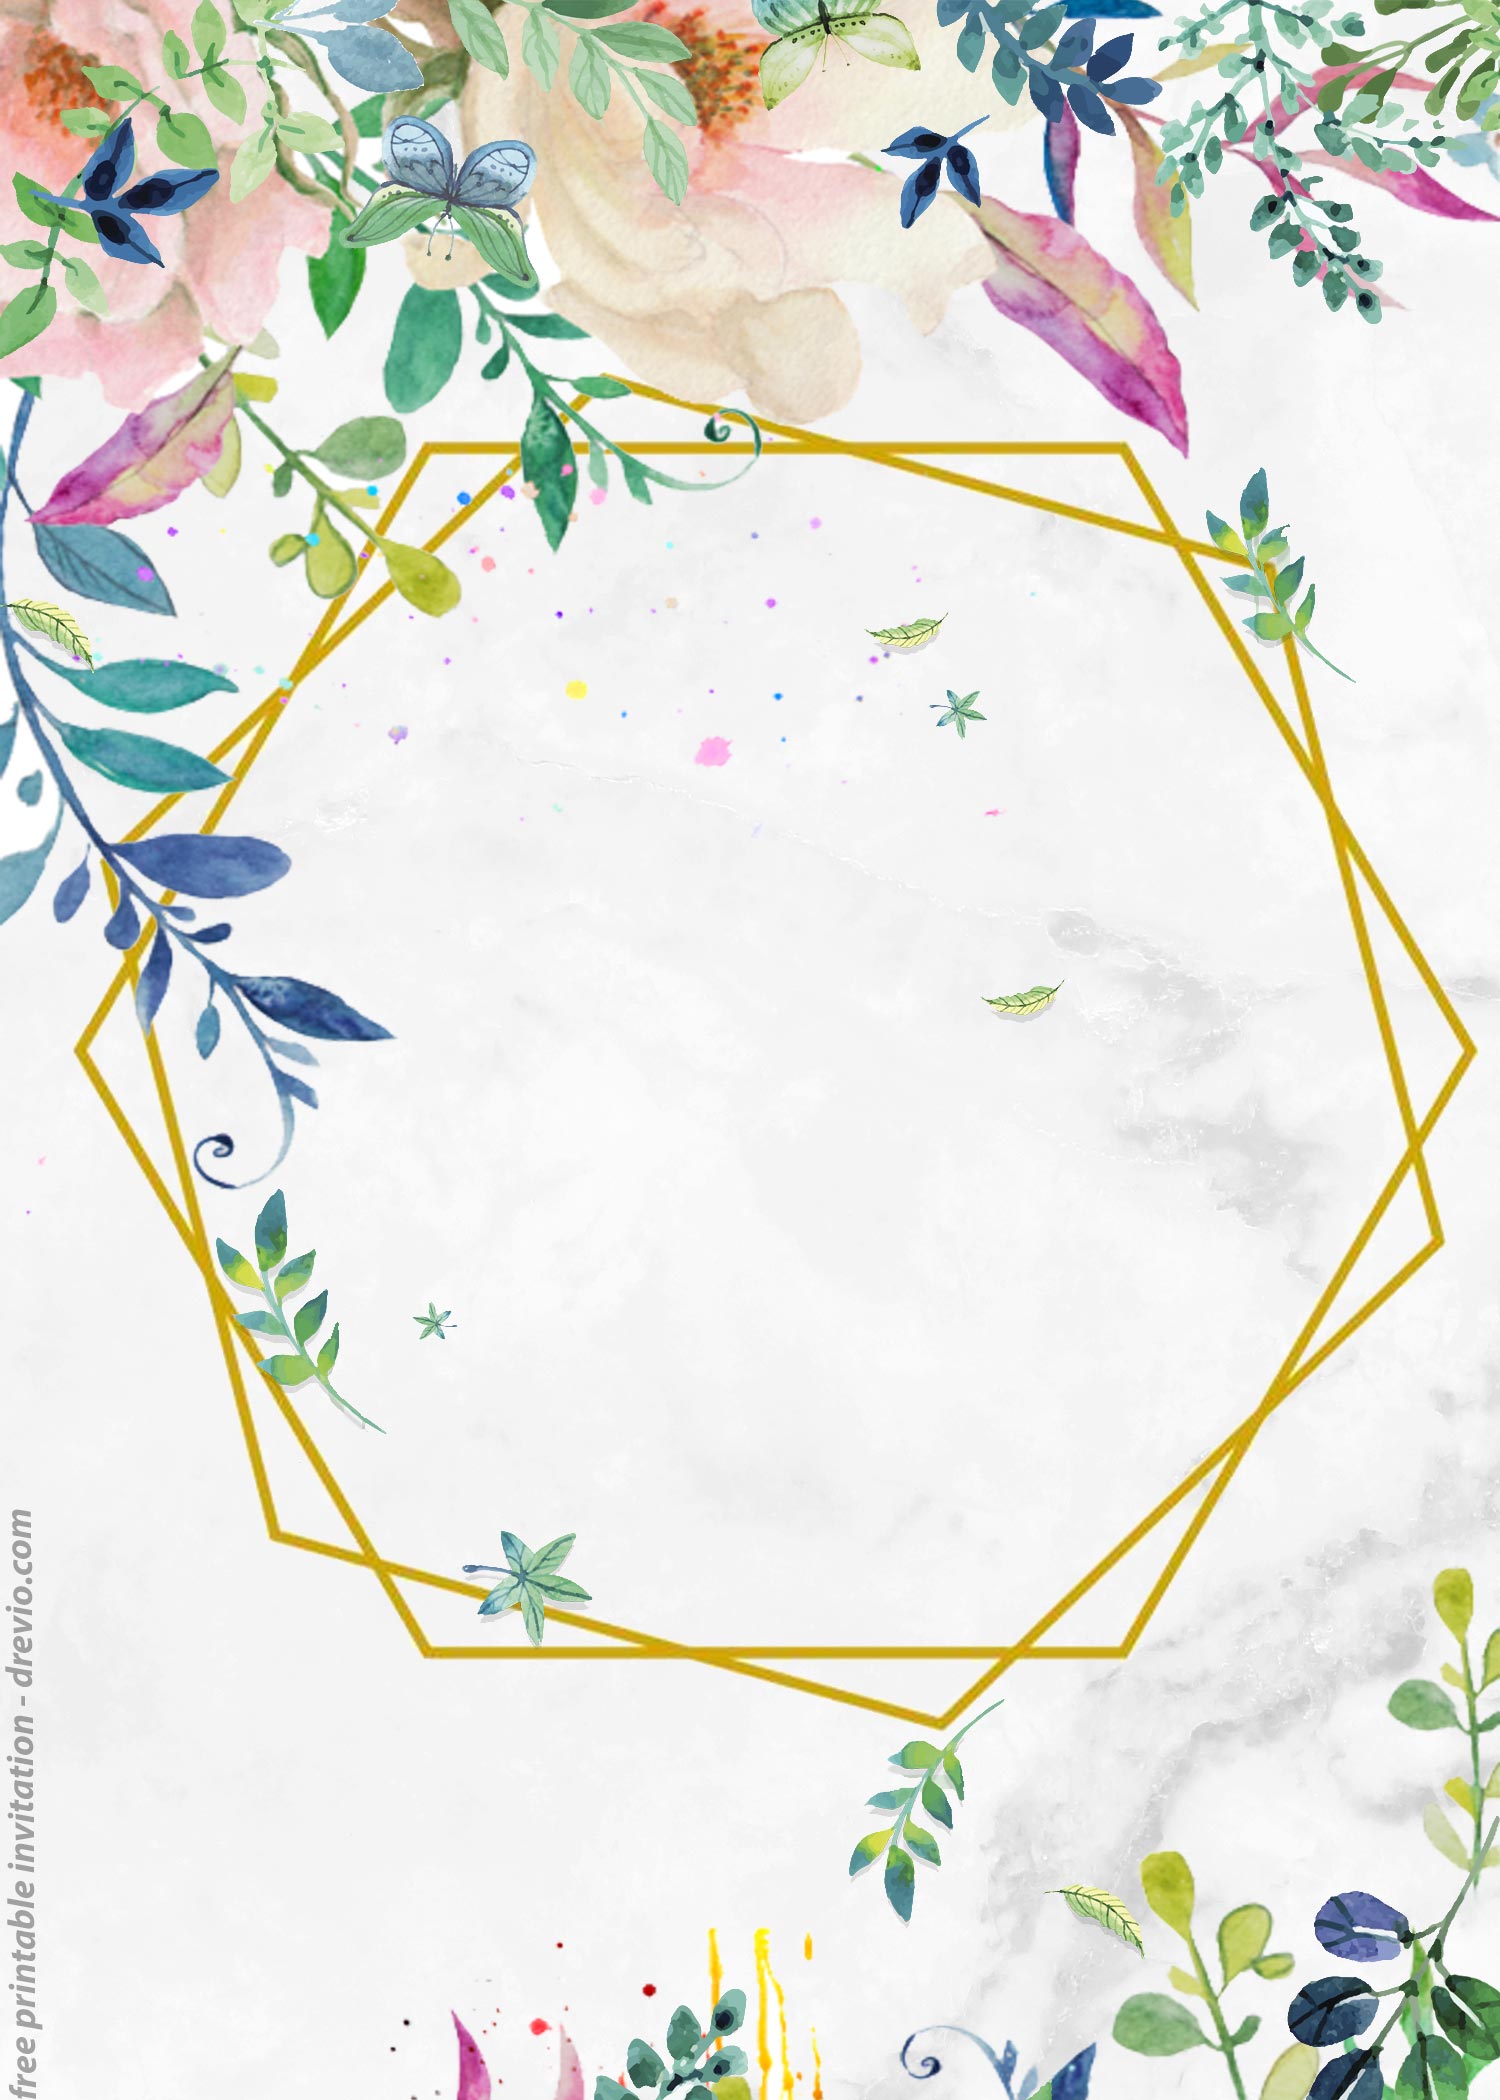
It has a pretty simple design, isn’t it? It’d be perfect for Modern style events. For today’s article, it was made as an example for Wedding card, but you are always able to do it either way. This template comes in 5×7 format of portrait orientation design. Which means you also got 9+ refined invitation card templates that is compatible with the widely used printing paper for wedding or birthday stationery (e.g. Cardstock paper).
Besides that, the main selling points of this collection is the beautiful liquid marble graphic. Those graphics were used as the main layer of the card, which is the background layer. On top of it, you are going to get a classy rectangle text box with unique gold border frame. By the way, have you read all the details? If you have read it, and you need to see the last instruction to make it works and become yours. See below.
There are two major things, goes from A to B, let’s make it simple, so you won’t get bored after reading this following guide.
Download Instructions
- Right-click each template you desired.
- Select “Save Image As”, then locate the folder.
- Click “Save” or tap your “Enter” key.
- The download process will begin shortly.
How to Insert Text in Photoshop
- Open the file first, by opening the Adobe Photoshop and Go to “File” > Open. In the next dialog, browse our template and click open.
- Go to the Tools panel (It’s vertically displayed on the left side of your screen), select the Horizontal Type tool. Click your image where you would like to insert text and type a phrase.
- To change the Font-style/size, it’s displayed on top/Ribbon Menu, by default it was set using Calibri Font, click that > and scroll the list to find your favorite font-style. For the font-size, it goes the same as previous steps.


